Today, I will show you how to optimize your WordPress website speed using WP Rocket. Read my complete WP Rocket guide further because I will also share my recommended settings and tips, which have helped me optimize over 100 WordPress websites.
Don’t have WP Rocket yet? Check out the WP Rocket review I’ve put together, then do your website a favor and get yourself a copy of the plugin. You can test it for 14 days free.

Table of Contents
Why is website speed crucial?
Because performance is so essential—affecting everything from user experience to Google rankings and conversion rates—everyone who wants their site to succeed must ensure it loads quickly.
According to Google research, 53% of people who visit a website will leave it if it takes more than 3 seconds to load. That’s why every website should be optimized for speed and have a powerful caching system.
In 2020, Google announced an update around May 2021, focusing on Core Web Vitals. This means that how fast your website loads will highly impact your rankings. And we know that keyword drops can mean up to 80% of traffic loss. You can’t afford this.
So, having a fast website means more visitors, more conversions, and more conversions.
How fast is your website? Test it on the Web. dev, which Google created, and focus on your website’s most essential speed factors. Below there is a report of a website I optimized several days ago for a customer:
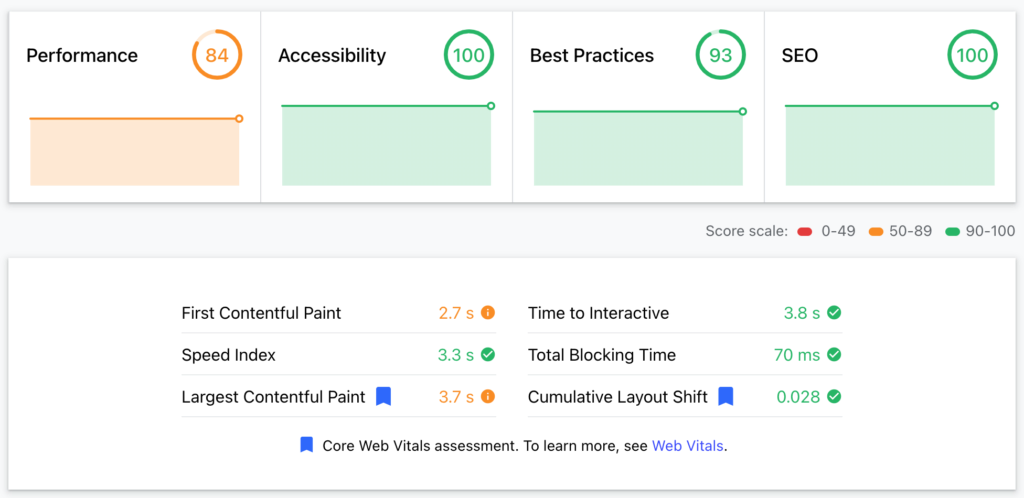
Unfortunately, hosting is shared; otherwise, we could aim for at least 95%. Yet an 84% score is good enough, and I’ve obtained it by installing and configuring WP Rocket.
Have I convinced you to pay attention and read further?
What is WP Rocket?
In summary, WPRocket is an easy-to-use WordPress plugin that speeds up your website by optimizing your page cache, image delivery, and many other technical aspects regarding scripts, page loading, etc. WordPress experts recognize WP Rocket as the most powerful caching plugin.
The plugin is speeding up almost 1 million 500 websites, making it the most popular WordPress speed improvement plugin.
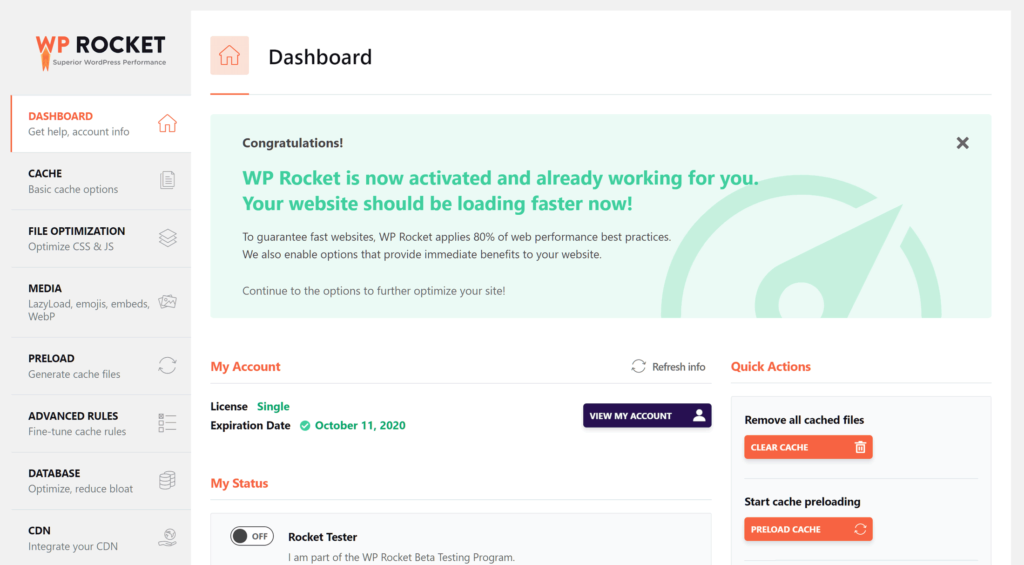
In addition to the plug-and-play factor, WP Rocket has lots of helpful documentation, including video guides, to further improve your website’s loading times.
We will go through all the tools and settings of WP Rocket to understand what you can do easily and optimize your website for speed.
Don’t have WP Rocket yet? Do your website a favor and get yourself a copy of the plugin. You can test it for 14 days free.

Purchase & Installation
After you purchase a WP-rocket license from their official website, you will get access to the members’ area, where you can download the latest version of the plugin.
Afterward, go to your WordPress admin area, navigate to Plugins, Add a new plugin, and Upload the zip archive you just downloaded. Then, activate the plugin.
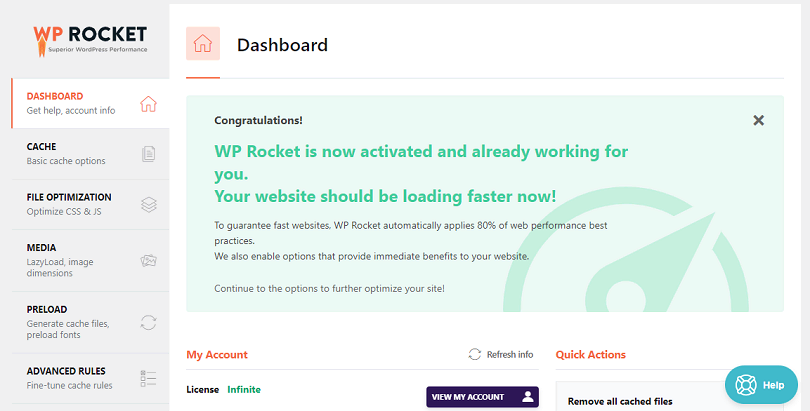
WP Rocket is now activated, and it already started optimizing your website. However, to get proper website speed optimization, you should tweak its settings, as that’s where its true powers come from.
Let’s start!
Dashboard
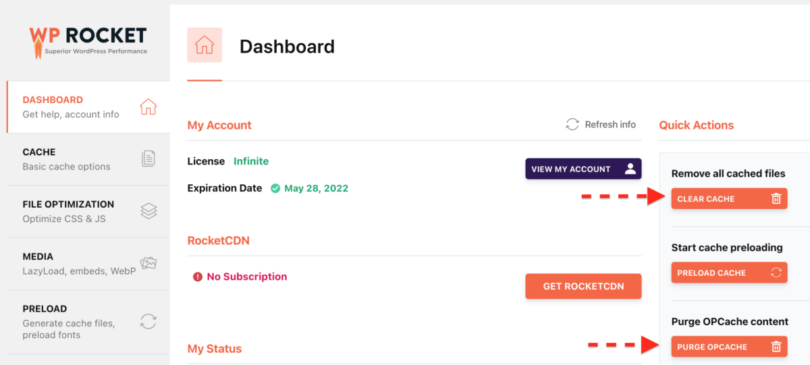
The Dashboard tab provides information about your license and allows you to perform essential actions. Specifically, you can purge your entire cache and/or start cache preloading.
For example, if you recently made a significant change to your site, you might want to purge the entire cache so your visitors immediately see that change. After purging the cache, you could start cache preloading to get those pages back into the cache.
Cache
That’s an essential function of the plugin, which powers your website’s caching. In a nutshell, the cache function creates a static page for your content that will be served to all visitors.
This way, the pages will not be dynamically generated every time visitors visit your website. This saves a lot of time and dramatically improves the loading speed.
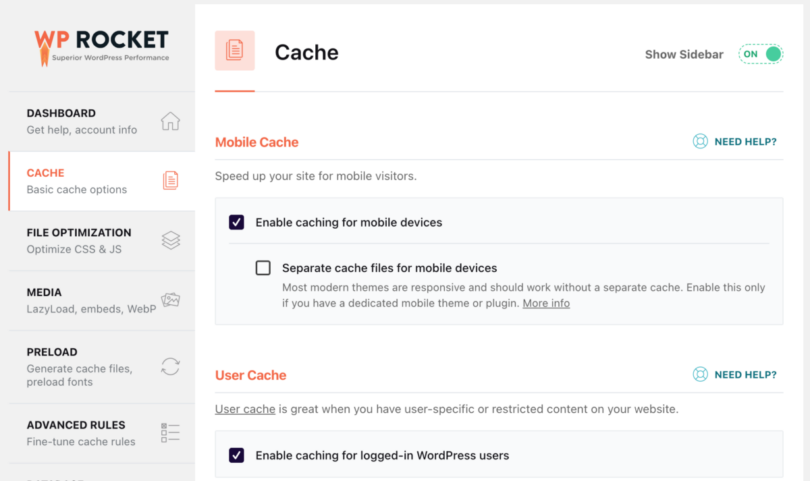
Mobile Cache
I’ve enabled the Mobile cache. You don’t have to create separate cache files for mobile devices, as my WP theme is responsive and quickly redesigns itself for mobile devices.
User Cache
WP Rocket will create a separate cache for logged-in users, which is excellent if you have restricted content that users need to be logged in to see. However, you can leave this box unticked if you don’t have registered users on your site.
I recommend enabling user cache because when you log in as admin, you can see how your website looks when it is being cached and fix any errors.
Cache Lifespan
How long should the cache files be available before they are automatically deleted and rebuilt? You have to experiment with the best option for you. I set it to 0 for unlimited time because I manually deleted the cache on the website.
File Optimization
Another necessary settings tab is the one related to file optimization. Files (HTML, CSS, and JS) heavily impact loading speed.
It is crucial to test these settings and see which one works for you. Remember to try contact forms, loading pages, etc.
There are thousands of themes and plugins. Some are old and outdated, while others are coded poorly. WP Rocket tries to optimize them, but sometimes, it can break things. So, test and see what works for you.
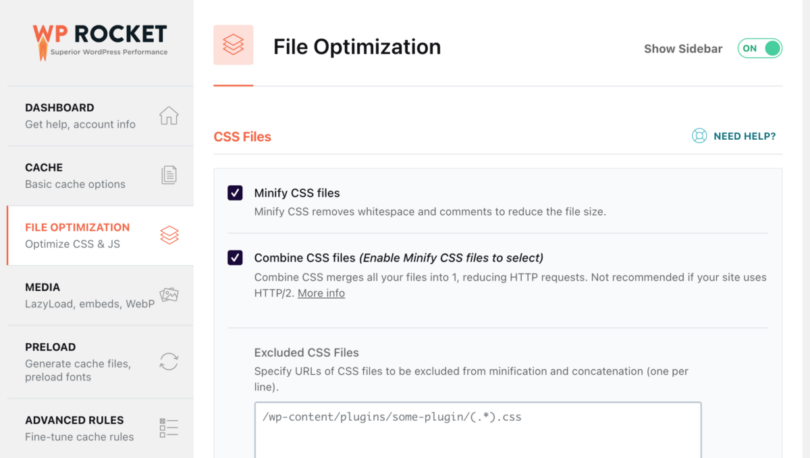
CSS Files
CSS files store your website’s visual code, including what fonts should be used where, what sizes, what colors, the size of all elements, etc. Most stock themes come with a lot of CSS code, which is often not optimized.
WP Rocket helps you deal with this, ensuring you load only what you need when needed, making your website faster.
Minify CSS Files
Enable CSS file minification and then the option to combine them. After this, hit Save, reload the cache, and test your website’s appearance heavily on desktop and mobile.
Exclude CSS files
If some CSS files cause visual errors, you should exclude them from minification and concatenation in the’ Exclude CSS files’ box.
Optimize CSS delivery
Optimize CSS delivery eliminates render-blocking CSS on your website for faster perceived load time. Please enable it and test your website again. If everything looks good, let’s proceed.
You should also remove unused CSS per page, which helps reduce page size and HTTP requests. That’s recommended for best performance, but you should test thoroughly, as WPRocket may remove some CSS for dynamic elements, making your website look sluggish. Use the CSS safelist to enter the files and classes you want to be excluded from removal.
If you have issues with Remove Unused CSS, you can use the Load CSS Asynchronous function. However, Load CSS Asynchronously cannot be enabled simultaneously with Remove Unused CSS.
JavaScript Files
JavaScript files are responsible for the functionality of your WordPress website. Still, they can cause slowdowns if the code is not optimized or loaded correctly or if too many files are loaded.
WP Rocket helps you deal with this, ensuring you load only what you need when needed, making your website faster.
Minify JavaScript Files
Enable the minification of JavaScript files and then the option to combine them. If JS inline patterns cause errors, you should exclude them from minification and concatenation in the excluding CSS files box. The same is true for JavaScript files.
Combine JavaScript files
If your website is hosted on a site that does not use HTTP/2, you should also tick the Combine JavaScript files box. This minimizes requests by combining your site’s internal, third-party, and inline JS-reducing HTTP requests. However, HTTP/2 hosts can transfer multiple files simultaneously, so it is better not to use this function. More details about this.
Load JavaScript deferred
Load JavaScript deferred eliminates render-blocking JS on your site and can improve load time. Please enable it and test your website again. Delaying JavaScript execution gives you excellent results, allowing it and adding the scripts that you can delay.
Delay JavaScript Execution
You can improve the performance even more by enabling the Delay JavaScript Execution function, which delays the loading of JavaScript files until user interaction (e.g., scroll, click). More info
When using the, you might experience a delay in loading elements in the viewport that need to appear immediately, e.g., the slider, header, and menu. You can easily select which scripts should NOT be delayed if you need instant visibility. This selection will help users interact with the elements straight away.
Excluded JavaScript Files
Specify URLs or keywords that can identify inline or JavaScript files to be excluded from delaying execution (one per line).
Media
The 3rd most crucial tab is about media files (images and videos).
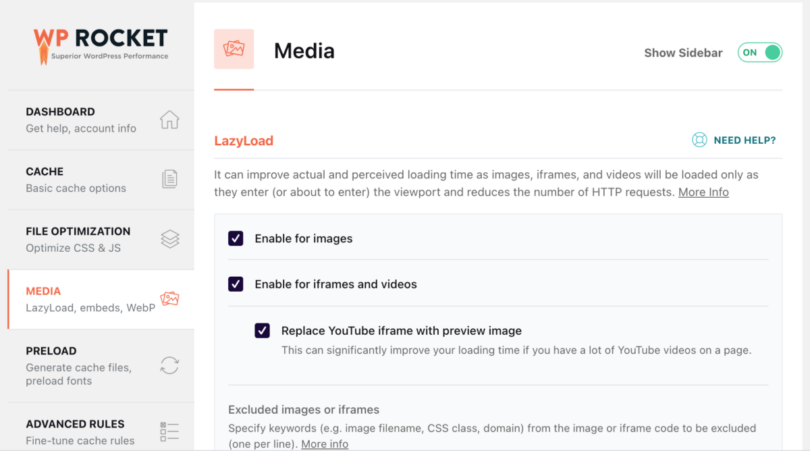
Lazy Load
Lazy Load improves actual and perceived loading time. Images, iframes, and videos are loaded only as they enter the viewport, reducing the number of HTTP requests.
Enable it for images, CSS images, iframes, and videos, and see if this function works on your website. If it does, keep it. Also, I recommend ticking the box to replace the YouTube iframe with the preview image, as this will save a lot of Load if you have YouTube-embedded files on your website.
Use the Exclude Images or iframes for the elements that do not look or work as they should.
Image Dimensions
This feature adds missing width and height attributes to images. This helps prevent layout shifts and improves your visitors’ reading experience.
Embeds
It prevents others from embedding content from your site, prevents you from embedding content from other (non-allowed) sites, and removes. JavaScript requests related to WordPress embeds.
I have mixed opinions on this. You can enable it for a little more speed, but on the other hand, if people embed your images, infographics, or content from your website, they cannot do it.
Preload
WP Rocket will generate the cache when you enable preloading, starting with the links on your homepage, followed by the sitemaps you specify. Preloading is automatically triggered when you add or update content and can be manually triggered.
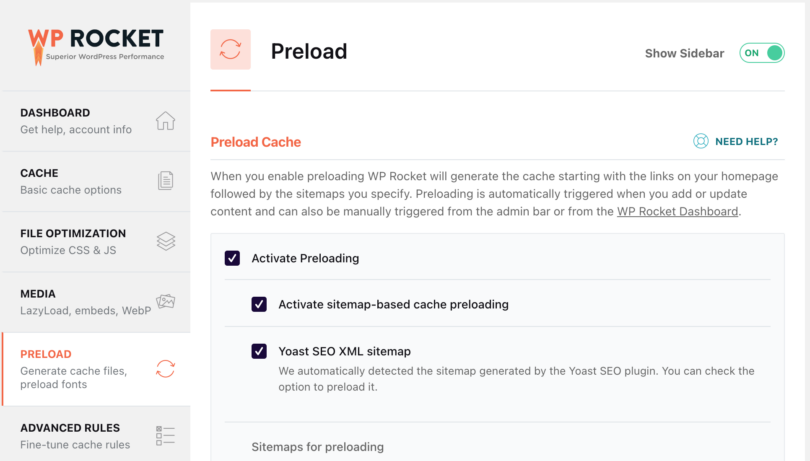
Preload Cache
I activated cache preloading, and the plugin identified that I use Yoast SEO XML sitemap as a source of pages. If you use another plugin for sitemaps, you can add the sitemaps in a text box.
Preload Links
Link preloading improves the perceived load time by downloading a page when a user hovers over the link. Please enable it.
Prefetch DNS Requests
DNS prefetching can speed up the loading of external files, especially on mobile networks. To do this, see what external resources your website loads and add the domains in the prefetch DNS requests box.
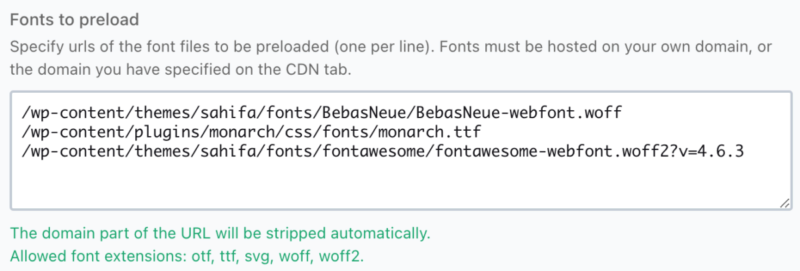
Preload Fonts
Improves performance by helping browsers discover fonts in CSS files. Remember to specify the URLs of the font files to be preloaded (one per line). Fonts must be hosted on your domain or the domain specified on the CDN tab.
Advanced Rules
This tab allows you to write advanced caching rules. You can exclude some pages, user agents, or browsers from caching with the cookies you set.
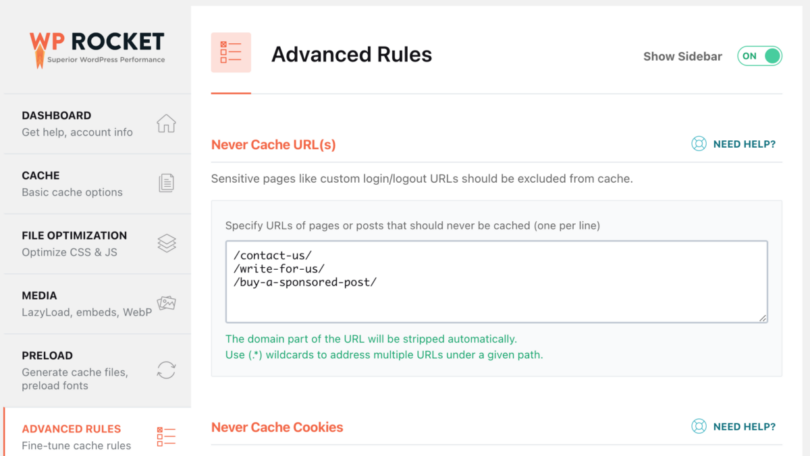
Never Cache URLs
Here, you should add any URLs you don’t want cached. I’ve added the links containing contact forms with Recaptcha as they conflict with WPRocket.
Never Cache Cookies
Here, you can specify full or partial IDs of cookies that should prevent a page from getting cached when set in the visitor’s browser (one per line). However, you don’t have to use that 99% of the time.
Never Cache User Agent(s)
If you get an error on a specific browser, you can specify the user agent strings that never see cached pages (one per line). Once again, I wouldn’t use this; instead, I would try to solve the browser causing the error.
Always Purge URL(s)
You may specify URLs you always want to be purged from the cache whenever you update any post or page (one per line). I don’t use this.
Cache Query String(s)
Cache for query strings enables you to force caching for specific GET parameters.
Database
You can clean up the database on this tab. For some active blogs that have been around for a couple of years or have heavy traffic and content, you should get rid of a lot of garbage.
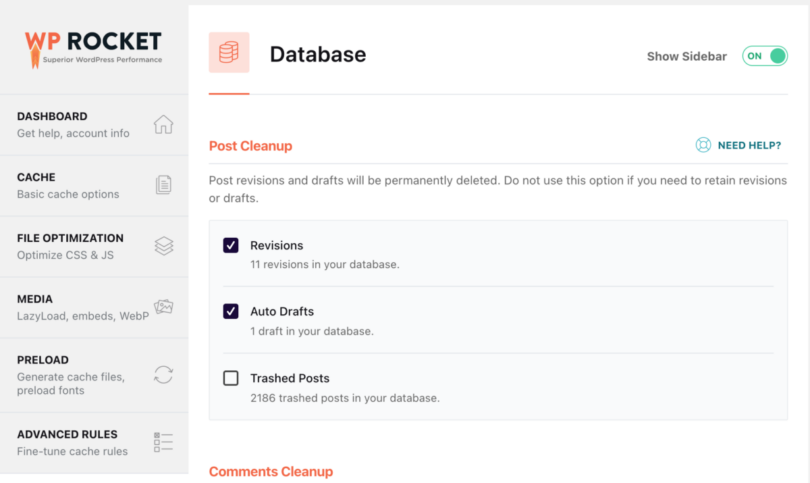
Post Cleanup
Post revisions and drafts will be permanently deleted. Do not use this option if you need to retain revisions or drafts.
Comments Cleanup
Spam and trashed comments will be permanently deleted. I enable both of these options.
Transients Cleanup
Transients are temporary options; they are safe to remove. They will be automatically regenerated as your plugins require them.
Database Cleanup
Reduces overhead of database tables, so enable the optimize tables option.
Automatic Cleanup
You can schedule automatic cleanups of your database. I recommend doing a backup before playing with these settings.
CDN
A CDN (Content Delivery Network) will help you deliver the images and other media files faster from your website. That’s because they are hosted on different servers worldwide, so people from Europe will get images from a European server, the ones from the US from a server in the US, etc.
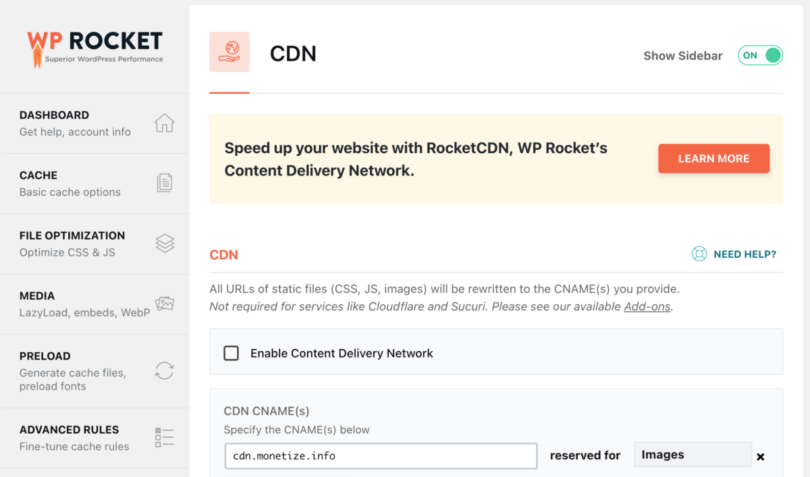
What’s nice is that you can create separate rules for all files, images, CSS, and JavaScript, just as well as CSS and JavaScript.
WP-Rocket recommends getting their CDN service called RocketCDN. If you have another service, you can enable it in this tab. I use KEYCDN at the moment.
Exclude files from CDN.
Sometimes, some files are updated often, or you don’t want to host them on a CDN, so you can specify the URL(s) of files that should not be served via CDN (one per line).
Heartbeat
Reducing or turning off the Heartbeat API’s activity can help save some of your server’s resources.
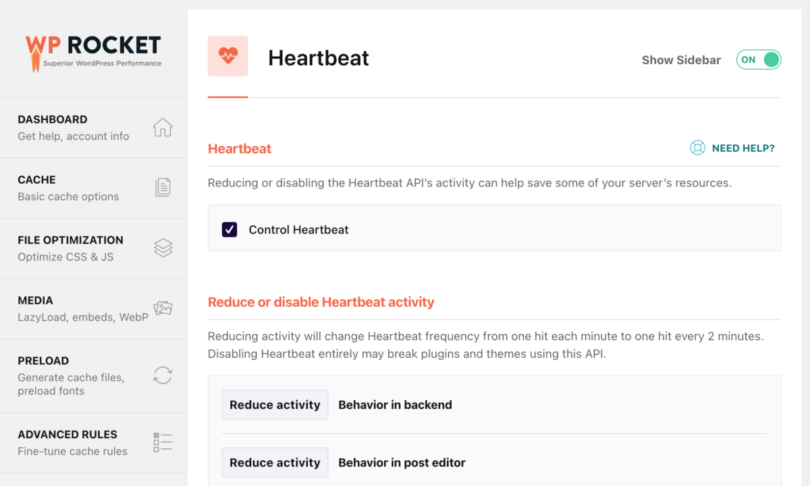
You can enable this option if you are on a small server or shared account and your website receives much traffic.
Addons
WPRocket addons are features extending available options.
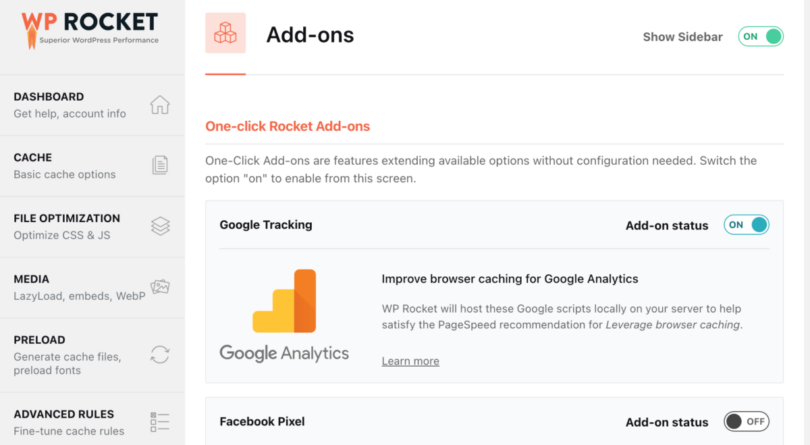
Varnish
You must activate this addon if the Varnish Caching system runs on your server.
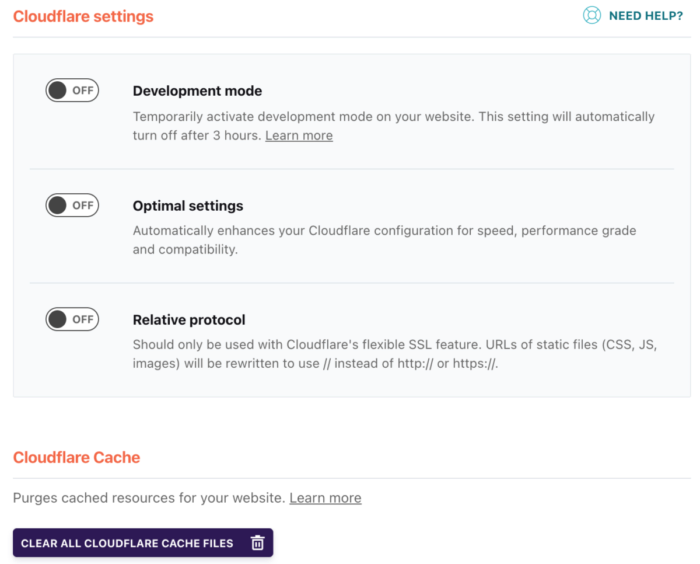
Cloudflare
If you are using Cloudflare, you should add the API Key and enable this addon so WP Rocket can control the settings and use the optimal ones. It also clears the cache in Cloudflare, so there will be no latencies.
WebP compatibility
Enable this option if you want WP Rocket to serve WebP images to compatible browsers. Please note that WP Rocket cannot create WebP images for you. You can use their service, Imagify or ShortPixel. I use the second.
Sucuri
You can synchronize the Sucuri cache with this addon.
Image optimization
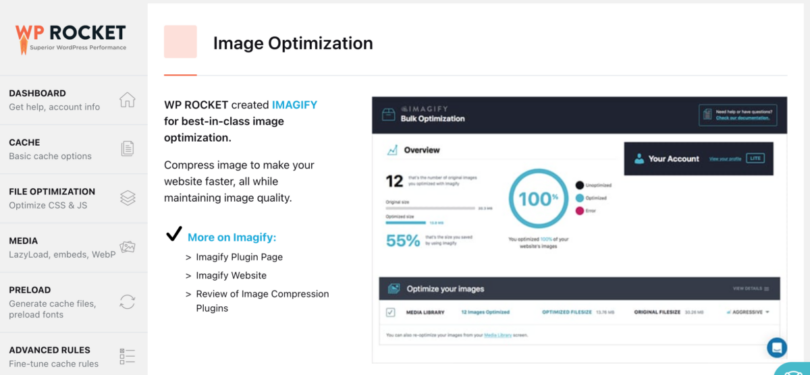
As I’ve previously said, image optimization significantly impacts your website’s loading speed. WP Rocket recommends using its service called Imagify. Using Imagify, you can compress the images to make your website faster while maintaining image quality.
I’m using ShortPixel, so I don’t know how good their service is. You can test it and see how it works for you.
Tools
The Tools tab allows you to easily export and import settings. This is helpful if you have multiple websites and want to use the same configuration or test things.
- Export settings—Download a backup file of our settings if you break something and need to restore what works.
- Import settings – Import the settings file you downloaded previously. If you install WP Rocket on multiple sites and use the same settings, you can import them here.
- Rollback—Does the current version of WP Rocket cause issues on your website? You can roll back to the previous significant version here.
- Enable Google Font Optimization – This one-time action improves font performance and combines multiple font requests to reduce the number of HTTP requests.
- Update Inclusion and Exclusion Lists—Compatibility lists are downloaded automatically every week. Click the button to update them manually.
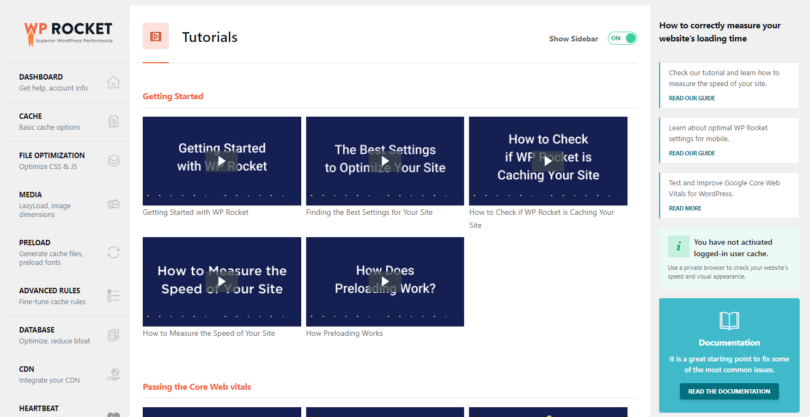
Tutorials
The WP Rocket team put together a couple of videos that go through all the main functionalities of the plugin so you can learn how they work and what you should use to optimize your WP website for speed.
Don’t have WP Rocket yet? Check out the WP Rocket review I’ve put together, then do your website a favor and get yourself a copy of the plugin. You can test it for 14 days free.

Installations management
In your WP Rocket members area, you can see all the sites where you installed WP Rocket, the version for each site, and its status. You can also quickly stop a website from using your WP Rocket license.
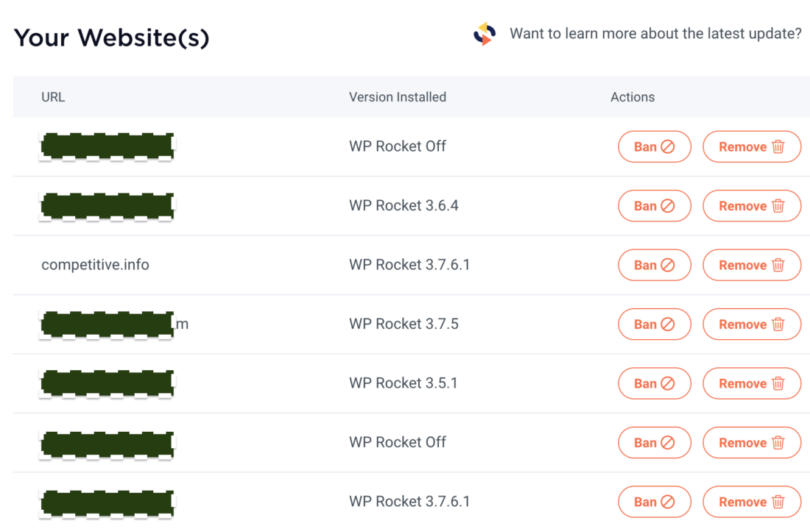
This is helpful for agencies that create licenses for clients, and they have to share the licenses. If a customer is no longer paying for maintenance, you can stop WP Rocket and revoke the permit, so they will have to purchase their own.
Conclusion
Don’t have WP Rocket yet? Check out the WP Rocket review I’ve put together, then do your website a favor and get yourself a copy of the plugin. You can test it for 14 days absolutely free.

 Monetize.info We Help You Monetize Better Your Digital Assets! 💰👍




![How a start a blog [Ultimate Guide]](http://monetize.info/wp-content/uploads/2019/03/How-a-start-a-blog-Ultimate-Guide-310x165.webp)
